Sunday, September 18, 2016

Button Projects

Todays post is sponsored by ZipIt Zippers.....

And we all love Jennie's zippers.....don't we...


I was lucky enough to got my hands on some of these cute buttons,
because they haven't all been listed yet....
and wanted to come up with a few quick and easy projects to showcase them in .....


 As most of you will know, we are all pretty excited around here
waiting for our first granddaughter's arrival to happen in late October.....

So of course I had to find a project that would be suited for a little girl....

(1) Hair Ribbons


I found out that making bows is not exactly in my skill set, lol....
But I love how these turned out anyway....
I will not even attempt  to do a tutorial for this, I was all thumbs.
The basics:  make your favourite type of bow, I added some tact stitches as I built my bows, and then add the button at the end and sewed on a hair elastic.


(2) How about some cute zipper pulls...

All you need for these is some ribbon, small swivel claw hooks and your favourite Zipit button! 


Loop the ribbon through and sew on your button to join and close the loop, easy...peasy!!!


And I mean how cute is it to have the fun eye glasses button on your sunglasses/eye glasses case!!!


(3) Book Marks

Now I know this is a bit "Old School" with ebook and tablets....
but there is nothing better than curling up with a good book...
or looking through your favourite quilt book for inspiration or to start a new project....
And these would make great teacher gifts....


I made these two different ways, with the same basic supplies.
I uses an ivory eyelet lace  and weaved 1/4" ribbon through it.

For the 1/4 ribbon that were woven and the pattern was on both sides.....


I just folded the ends over twice and top stitched to make a finished hem! Then added the button near the top of the bookmark. this makes a nice simple thin bookmark.


For the printed ribbon, which only had the dots on one side, I made two identical eyelet pieces


When I got to the end I folded the last two eyelets to match and threaded the ribbon through.


Leaving a ribbon tail at the top...


 Take you two ribbons and lay them right sides together and stitch them together at the one end


 Now flip the pieces around so the wrong sides are together and the seam is hidden inside. Stitch from the bottom up one long side across the top and down the other long side, joining the two ribbons together. Sew you button onto the ribbon.
I have to say this turned out to be my favourite. It's more finished and has more body to it!


(4) Cup Cozy

I carry one of these in my purse all the time! I love a hot drink but not the hot cup....
and I love that these add fun to my cup as well as reduce some of the environmental foot print I leave...
I have a free template over in my Craftsy Pattern Shop, if you want to make one or ten!


Couldn't resist adding the cat button to the bird print.....lol, especially with the wink....


 If you are a tea drinker, maybe you want to add a pocket...... I cut (1) 3.25" x 5" rectangle. Folded it in half and sew down the sides and across the bottom, leaving an opening for turning, with a 1/4" seam. Press and topstitch to the quilted top about an 1.25" from the raw edge.


Well I hope this post has inspired your creativity.....

I can't wait to see how you use your buttons....

Thanks again to Jennie from

Don't forget... you can use the discount code
"upstairshobbyroom"
for any of your purchases from Zipit....
and you will save 15% off your purchase!!!


Wednesday, September 14, 2016

Rainbow Stacks Quilt Pattern

Anyone who follows me on IG will have seen my posts of the possible layouts for this month's 

There has been an overwhelming response to this last month's block....
and I couldn't be more touched by all your lovely, fantastic, enthusiastic responses and compliments!!

I have fast tracked the full size pattern which is now available in my Craftsy Pattern Shop!
The full sized pattern includes Colouring Sheets for all 4 layouts, so you can create your own masterpiece; fabric requirements for the full sized quilt;
 4 block sizes (9", 6", 3" and just for fun  1.5") 
and a bonus mini project.


This is the winner and the layout on my design wall waiting to be sewn together....
but I took today to work on the finalized pattern....so hopefully I will get it done this weekend!


I am so excited to see this one all together and quilted!


Thanks again to 
for the lovely Cotton Supreme Solids 


SaveSave

Sunday, September 11, 2016

X Boxed One Block Wonders BOM Winners

Well I really dropped the ball this time...
I totally forgot to announce the August Winners.....

LOL, You guys are way to easy on me...
Why weren't you all sending me crazy messages asking what was going on.....

Thanks again to 

 for the amazing bundle of Bear Essential I used this month....
and for the FQBundle our lucky winner will receive!!!
Congratulations to 
Laura

And 
Thanks to Pam
for a fantastic $30.00 Gift Certificate

Congratulations
Melissa
Have fun on your shopping spree!!


SaveSaveSaveSave

Thursday, September 8, 2016

It's a "Dog's World" Fun and Games Quilt

I was super excited to get to work with "Dog's World" fabric from Red Rooster Fabrics...
The prints are so much fun and the colours are so bright and cheery...also being a dog person...they just make me smile! 


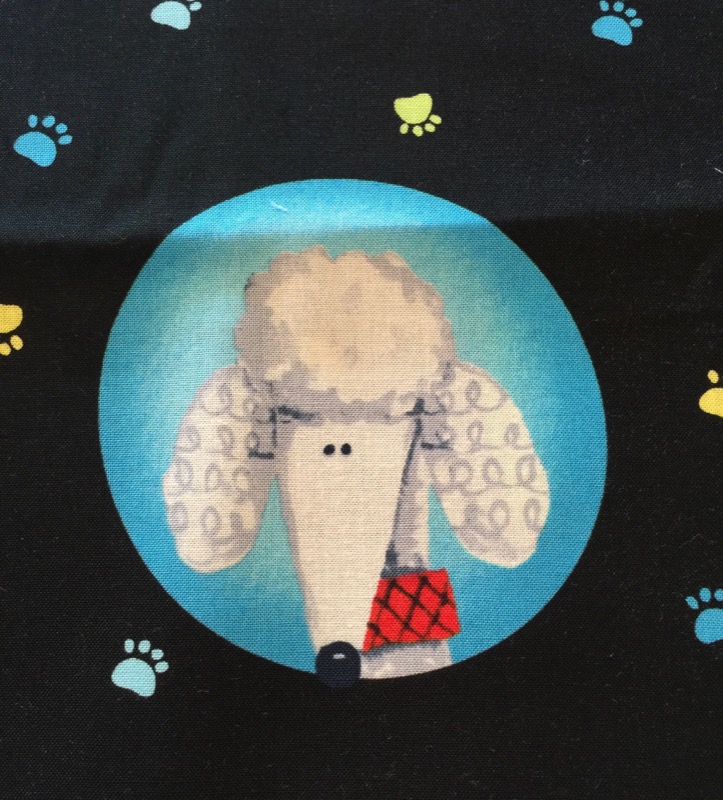
 I mean how can you not love these doggie selfies???
You can't possibly look at these and not smile....no way....


I knew right away what I wanted to make........
Soon after I started quilting I bought a very simple design software and made a checker board quilt for my nephew. I have since added a version of that checker board pattern to the back of a friends quilt, so her boys could use it as a game board, and I've always meant to make one for my home too!
It was the first thing I thought of when I saw this fun collection of prints....so off to EQ7 and this is what I came up with......I'm calling this one "Fun & Games" Quilt


 Checkers on one side....
(Did you notice the doggie selfies? One set of three faces, face each player......they are so cute)


and on the other side....Tic Tac Toe....4 different boards.....


again with the cute dogs at either end....just couldn't help myself....still makes me smile!


 And what does every games quilt need....a cute pouch to hold the game pieces of course!


I didn't have a pattern...the checkers are 3" wide, (thank you Cracker Barrel! My Mother-in-law picked them up for me a few years ago, on a trip south of the border) so I knew I had to make the pouch a good size to hold them all.
I came up with a cross between a pouch, clutch and the Sew Together Bag....and I'm happy to say it turned out.

Yes, there were a few false starts, some stitch ripping and even some lost fabric.....and....


I promised a story about the cute little white paw label...
Let's just say it was messy, a needle's life was lost and fabric was hurt.....yikes
So I fussy cut a paw, folded fabric bias tape style and put a "bandage" on it!! 👍🏻👍🏻


and how cute is that? 
and you won't give away my secret will you.... 😉


I was hoping to share the patterns with you, but they all need further tweaking and testing so keep your eyes open for them in the near future. If you don't want to miss anything, think about following along via email or BlogLovin, both can be found in my sidebar. Also all my patterns to date can be found in my Craftsy Pattern Shop and that link is also in my sidebar. (enough self promoting)


How about a giveaway.....


Red Rooster has generously donated a FQ Bundle of their  Dog's World fabric line for one of you to win and make your own cute project with!!


Let's make this a simple one...


a Rafflecopter giveaway


*sorry open to Canada and US only this time