
Let the fun begin!! Time to start putting all of your hard prep work into making a pretty wiggle!!

First thing on the agenda today is to grab the colouring sheet that came with your pattern . It is going to be your construction chart, like the ones you get in some knitting patterns. This will be your row builder and row joiner chart of order.
...and now I am giving you permission to colour!!
Yup, colour!! Grab you pencil crayons or go get your kids, this will be so much easier in colour...and not just any colour, but your fabric colours, or a simple version of them anyway.
I used the basic colour for each of my rows, and I left the background blank. You don't want to colour that in because it is a great place for further numbers and notes. I thought about adding some for you but decided that it was better for you each to add what you wanted to see on your own sheets.
So here we go.
So here we go.
Once you are done colouring your sheet, lay out the background fabric strips next to your sewing machine in this sewing order:
Now following your chart you are going to sew your different strip sets and background strips together to form rows.
Also when you are pressing your row seams you may want to add in your colouring sheets left border area a note as to which way your seams are being pressed. I also used different checks and highlighting as I constructed the top to keep things in order. Use the system that works the best for you.
- place your background strip and your first strip set together and sew your 1/4" seam. Now take the unsewn end of the strip set and flip it is right side facing up and sew your next background strip to the end, and repeat with the background strip adding the next strip set and repeat with the strip set adding the last background piece and your first row is all together.


At this point I press my seams open when joining my rows, but again its your quilt and you have your preferences, go with them!!
Once all your rows are joined together and all seams are pressed...admire your gorgeous wiggles!!! :)
But there is one more step: Adding your border
- measure from top to bottom in 3 sections of your quilt. I usually go in about 3 inches from each side and the centre. Hopefully you find a consistent number, that is what you will use to make the side border cuts with.
- Whatever your length is make 2 and sew one to each side of your quilt
- Now measure your quilt again from side to side, in the same way as before, for your top and bottom cuts. Use this number to make your remaining top and bottom borders with and sew them in place.

Your Wiggle Me Colourful Quilt top is now complete!!
I have to confess, eek, I have now made 2 tops and not finished either. (I am shopping for long arm quilting machine, but haven't decided or saved enough money at this point) so my stack of quilt tops keeps growing. So I can't say with certainty how accurate these measurements are,I used the Robert Kaufman quilter's app. I know the EQ7 fabric amounts were over generous and I tweaked them.
So if you have your own system use that.
I hope you have enjoyed the sew along and that you are all in love with the quilt tops you have created!!
Next week will be having a show off your "wiggle" party on our FB page, that will run all week so you really have 2 weeks to get your "wiggles" together (and yes I chuckle every time I use wiggle this way, lol)
You'll get all the info on that next week with the last blog post for the Wiggle Me Colourful Sew Along!! Thanks so much everyone for making this such a fun first experience with a sew along, though you have all !!
I can't wait to see what you all come up with!! don't forget to use #wigglemecolourful
Have a great week and happy sewing!!
Just for fun I made a very mini version of my pattern.....
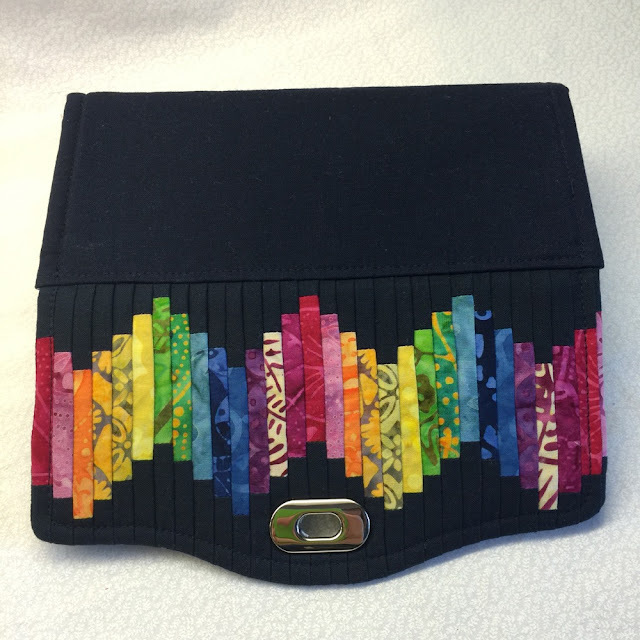

Just for fun I made a very mini version of my pattern.....

Thank you so much for this tutorial. I especially love your wallet flap!!!
ReplyDeleteLove this ... so bright an cheery! Thank you for the great tutorial.
ReplyDeleteThe chart made it so easy to join my strips in order, I pinned a row number to each one, and they are ready to sew and iron.
ReplyDeleteLove these quilts! Must jump in on this quiltalong :)
ReplyDeleteI love this quilt! It is so fun and pretty!! :)
ReplyDeleteLovely! So colorful and fun! And that wallet wiggle is tiny. Excellent piecing work!
ReplyDelete