I got distracted.......
Anyone who has been following me on IG, FB, or here on my blog knows I am expecting my first granddaughter in October, and I couldn't be more excited!!
And, what does a maker do in a happy situation like this?
Go crazy making beautiful things with beautiful fabric of course!!
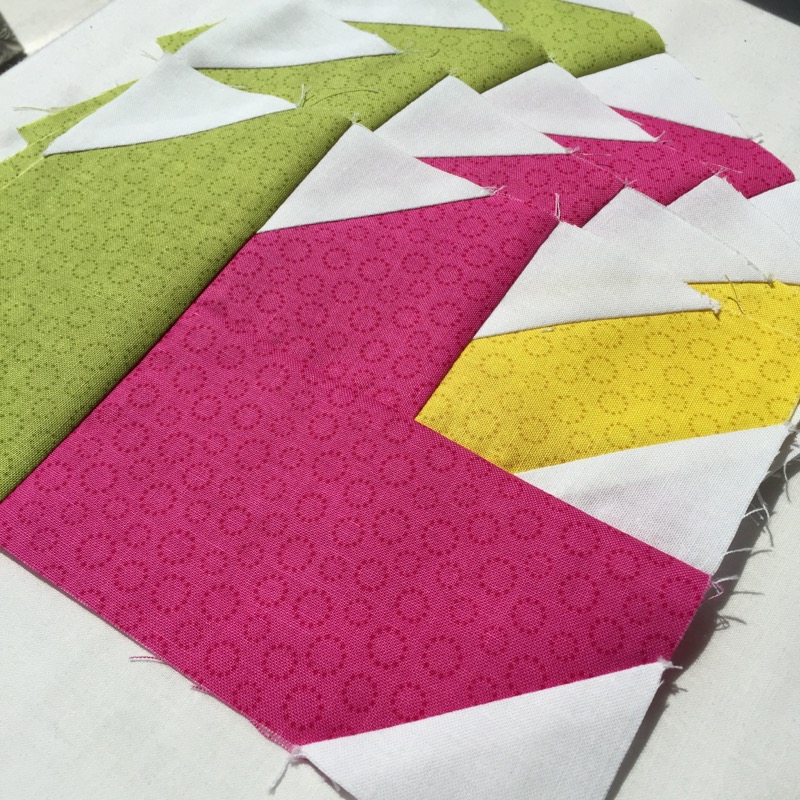
And what could be sweeter than a Tiny Tank Dress...
....well maybe a pair of little shoes.....
.....or a reversible sun hat.....
....or a little diaper cover....
...or maybe....its all of the above, together....
For me the sweetest thing is knowing that my first granddaughter is going to be wearing these next spring....it can't get any better then that!
...and I still have more of the Eden's Road fabric left, so I am on the hunt for more lovely projects to distract me...... I mean sew....😉
Links, tips and my thoughts on the patterns I just shared:
This was an easy sew and no major problems. Some of the illustration pictures could have been clearer, but having done some clothing sewing, it didn't slow me down. I even got brave and used pink thread, which shows and my topstitching went really well!! (it doesn't always...)
This is one picture I wished was clearer, just for new sewers. Make sure you tack the elastic with some stitching at each end of your casting to hold the elastic in place. Or you will be fishing it out and that will be a pain. Using a safety pin thread your elastic through the casing till the far end of your elastic lines up with the opening of your casing. Tack to hold so you don't pull it all the way through. Then pull your safety pin and elastic all the way through to the far end of your casing. Remove the safety pin and line up the other end the same way and tack again. If you are worried about the elastic slipping back inside the casing put a pin in to hold it in place to sew.
Also the only seams in this pattern that aren't enclosed are the side seams, if you have a serger, it would be perfect for finishing your seams....or zigzag, or overcast stitch with your regular sewing machine.
Oh my goodness, these are so adorable...this is the first pair I made using the Garden Gate line, also from P&B Textiles. This pattern had 2 things that I wanted to change. The first one was the shoes finished with a seam showing inside the shoe. I just didn't like that, I'm too fussy maybe, but I like things to be finished.😜 The second was that you cut two slits into your fabric...I just didn't like the thought of the raw edges fraying over time.....so
...on this next pair, instead of following the pattern instructions for the slits I made small button holes...
Have you seen this cool tip for cutting your button holes open using a stitch ripper?
Place a pin at the top of the hole so your stitch ripper can't go any farther than the pin...perfect!!
When sewing the shoe together, I sewed the heel on first, added the toe, both using a scant 1/4" seam. Then I flattened the the shoe and added the sole on top, pinning it in place all the way around.
Leave an opening for turning somewhere, preferably not where the toe and heel cross, just so your hand stitching will be easier. ( I say this from experience...lol)
A little bit of hand sewing to close up the turning hole and you have a shoe with no seams showing!!
For me this is perfect...but it is a little fiddly, so if the inside seam doesn't bother you....stick with the original instructions.
I had no problems with this pattern either, and love how it turned out, but I did take the time to add a few extra details...and I'm glad that I did ( I know, big surprise...😁)
You can see on the light blue brim especially, I did a scant 1/4 or a generous 1/8" topstitching on both sides of the seams on the brim and body of the hat, and one side of the seam on the top and where the hat body and brim join. It helps hold the seams flatter and adds some interest. ( and I trimmed the 1/2" seams to approx. 1/4" before topstitching)
Where the brim and the hat body met the brim, the seam naturally wanted to go towards the body of the hat, so I topstitched along the base of the hat body, catching the seam. I didn't trim this seam down at all. I did still clip it though. I figured leaving the extra seam height and interfacing would help the hat stand and keep its shape better!
I have to be honest....I just made this pattern this morning and it should have been an easy sew......but it wasn't. I'm not sure if I just did something wrong or the pattern actually has a flaw.
The problem I had was with those tabs you can see at the leg openings on the pattern. I'm assuming they are meant to help with the elastic casing, but I just couldn't get them to line up properly after I sewed the side seams and crotch. Then when I tried to turn the casing, it was to big on one side of the seam and too small on the other, and all that extra tab fabric ended up inside the seam and made getting the elastic through the casing at the seams a nightmare.
I came really close to giving up when the fabric started fraying after repeated stitch ripping, but I am just too stubborn 😕 and hate wasting fabric, so I pushed through.
I knew once the elastic was added and the legs gathered, some of the issues would be less noticeable, so I made the casing work as best as I could, not my finest sewing but I got it done.....😥
(I still think the tabs at the crotch are the issue. I noticed in the video the same issues with her pressing that I was having. I am going to try another pair with no tabs there and with stopping the stitching at the pivot point instead of sewing the tab....see if that works? I'll let you know!)
If you have tried this pattern and have had success, please share some insights in the comments...
Or if you have made a different diaper cover pattern with great success, please share that!!
I would like to make a few more! If I was't afraid of wasting fabric or frustrating myself again, I would just remove the tabs from this pattern and try again..... any seamstresses or clothing sewers out there have any thoughts on that idea???
The good thing ....
Every sewing experience good or bad
is a chance to learn and grown...
and nothing was wasted, not even my time because I persevered and finished.....
another sewing muscle was created....
and I have the cutest outfit to show for all my efforts!
I kinda of feel like I just medaled in the sewing Olympics✂️🏆
And look at those little birds, don't they just make you smile!!😃
Happy Sewing Everyone....
Have a great weekend